Introduction
Backfilling is a key step in many construction projects, from laying foundations to trench work. However, without checking soil quality first, problems can pop up later. Imagine a building sinking or cracking because the ground beneath wasn’t stable enough. Proper soil sampling helps catch problems early. It shows what kind of soil you’re messing with and if it’s good for your project. When done right, it saves money, keeps people safe, and makes sure your project stays on schedule.
Understanding the Importance of Soil Sampling in Backfilling Work
Why Soil Quality Matters
The soil you use can either hold up your structure or cause it to fail. Different soils have different strengths and weaknesses. Some settle over time, causing cracks or uneven surfaces. Using unsuitable soil can lead to soil sinking, poor compaction, or long-term damage. For example, if you backfill with clay that retains water, it may swell or shrink, putting stress on your foundation. Several projects have failed because the soil wasn’t tested before backfilling.
Regulatory and Industry Standards
Most regions have rules about soil testing before backfilling. Agencies like ASTM and local building codes specify how soil should be tested. They want to make sure the ground can support the weight of structures. Not following these rules can lead to fines or having to redo costly work. Experts agree that following proper standards keeps everyone safe and makes sure the project meets legal requirements.
Benefits of Proper Soil Sampling
When you take the time to analyze soil correctly, you reduce risks long term. Proper sampling confirms if the soil can handle the load. It also keeps maintenance costs low by preventing future problems. Stable soil means safer buildings and fewer surprises during construction. Ultimately, soil testing supports a smooth project timeline and long-lasting results.
Planning and Preparing for Soil Sampling
Site Assessment and Preliminary Investigation
Start with a quick walk around your site. Look for areas that might have different soil types or previous disturbances. Check existing maps, geological surveys, or old site reports. These can give clues about what kind of soil you’ll find. Specialized tools like a basic soil probe or drone surveys can also help assess the site before digging.
Developing a Sampling Plan
Knowing what you need to learn guides your sampling plan. Decide if you want to check soil type, moisture, or contamination. Pick specific locations based on how your site is laid out, focusing on areas that will get the most load. Also, plan how deep to dig and how often to collect samples. This helps you get enough data to represent the whole site.
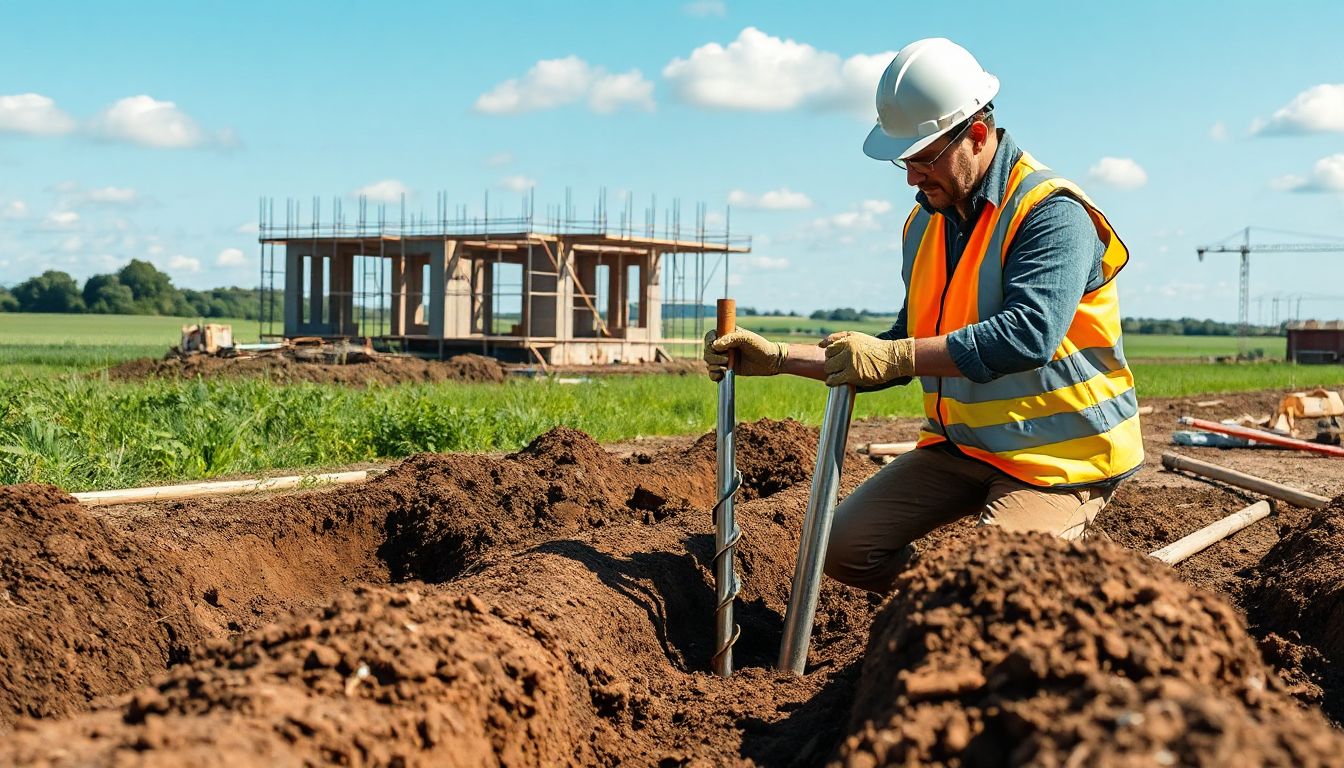
Equipment and Materials Required
You’ll need specific tools like hand augers, core samplers, or hydraulic rigs for collecting soil. Proper containers and labels are crucial to keep samples organized. Use clean, sealed jars or plastic tubs to prevent contamination. Don’t forget safety gear like gloves, helmets, and boots. Think about how you’ll safely access sample sites in tough terrain.
Methods of Soil Sampling for Backfilling Projects
Standard Soil Sampling Techniques
Grid sampling divides the site into a pattern, ensuring you test a wide area. Random sampling is useful when you want quick results from different spots. You can collect samples as discrete points or in a continuous manner—like pulling a sample across a length or depth. Both methods provide useful data depending on your project needs.
Advanced Sampling Methods
Boring machines and trial pits allow you to go deeper into the soil. These give a detailed profile of what’s underground. In-situ tests like cone penetration gather data on soil strength without removing samples. Geophysical surveys, like ground-penetrating radar, offer a non-invasive way to understand subsurface conditions. These methods help confirm what you find with simple sampling.
Sample Handling and Preservation
Always label samples clearly with location, depth, date, and any other important details. Keep samples sealed and stored properly to prevent contamination. Transport them promptly to the lab, keeping them cool if needed. Proper documentation is essential to maintaining a chain of custody, especially when required by regulators.
Analyzing Soil Samples and Interpreting Results
Laboratory Testing Procedures
Certified labs perform tests on your samples for particle size, moisture, and soil limits. These tell you how the soil will behave under load. They also check for pollutants or contaminants, especially if the site is near old industrial areas. Expect a turnaround of a few days to weeks, depending on tests ordered.
Interpreting Test Results
The results show whether the soil can support your foundation or if you need to stabilize it. Look for things like bearing capacity—the soil’s ability to hold weight—or potential settlement issues. Unsuitable soil can be improved through proper treatment. Use your test data to decide the best backfilling material and the required compaction standards.
Making Data-Driven Backfilling Decisions
Your test results should guide every step. Pick backfill materials that match your soil’s needs. Adjust moisture levels during compaction. Follow the report’s recommendations for compaction techniques and testing. This way, your backfill is stable and secure, reducing future repairs or settlement problems.
Implementation of Soil Sampling Findings in Backfilling Operations
Material Selection and Treatment
Based on your analysis, choose the best soil mix for backfilling. Sometimes, you may need to mix soils or add binders to strengthen the fill. Soil stabilization methods like chemical additives or mechanical mixing can be useful. In some cases, you might reuse excavated soil if it tests suitable, making your project more eco-friendly.
Quality Control During Backfilling
Monitoring in real-time keeps your project on track. Measure soil moisture and compaction levels during backfilling. Use portable testing tools like a nuclear gauge or moisture meter to verify quality. Keep detailed records of all tests and adjustments for compliance and future reference.
Troubleshooting Common Issues
Unexpected soil conditions can cause delays. For example, you might encounter pockets of loose or unstable soil. If tests show weak soil, you’ll need to improve it with stabilization or change your backfill plan. When initial sampling results are unclear, take additional samples. Being flexible and prepared keeps your project moving forward.
Conclusion
Thorough soil sampling is the foundation of a successful backfilling project. It helps you understand what’s underground and how to prepare for it. Proper planning, testing, and interpretation make sure your structure stays safe and stable for years to come. Skipping this step can lead to costly mistakes and safety risks. Remember, investing in quality soil sampling today prevents bigger problems later. Make this a priority to get the best results and ensure your project stands the test of time.