Introduction
Concrete forms the backbone of most construction projects. Whether building a skyscraper or a bridge, knowing how strong the concrete is matters a lot. But testing concrete directly can weaken the structure, especially if you drill or cut into it. That’s why the Rebound Hammer Test offers a quick, non-destructive way to check concrete quality. It’s all about measuring surface hardness to estimate how much compressive strength the concrete has.
Standards like IS 13311 Part 2 set the rules to make sure testing stays accurate and consistent. This article will help engineers, inspectors, and construction teams understand how to use the rebound hammer correctly. From selecting the right device to interpreting results, you’ll find everything needed to get reliable data and boost quality control efforts.
Understanding the Rebound Hammer Test and Its Standards (IS 13311 Part 2)
What is the Rebound Hammer Test?
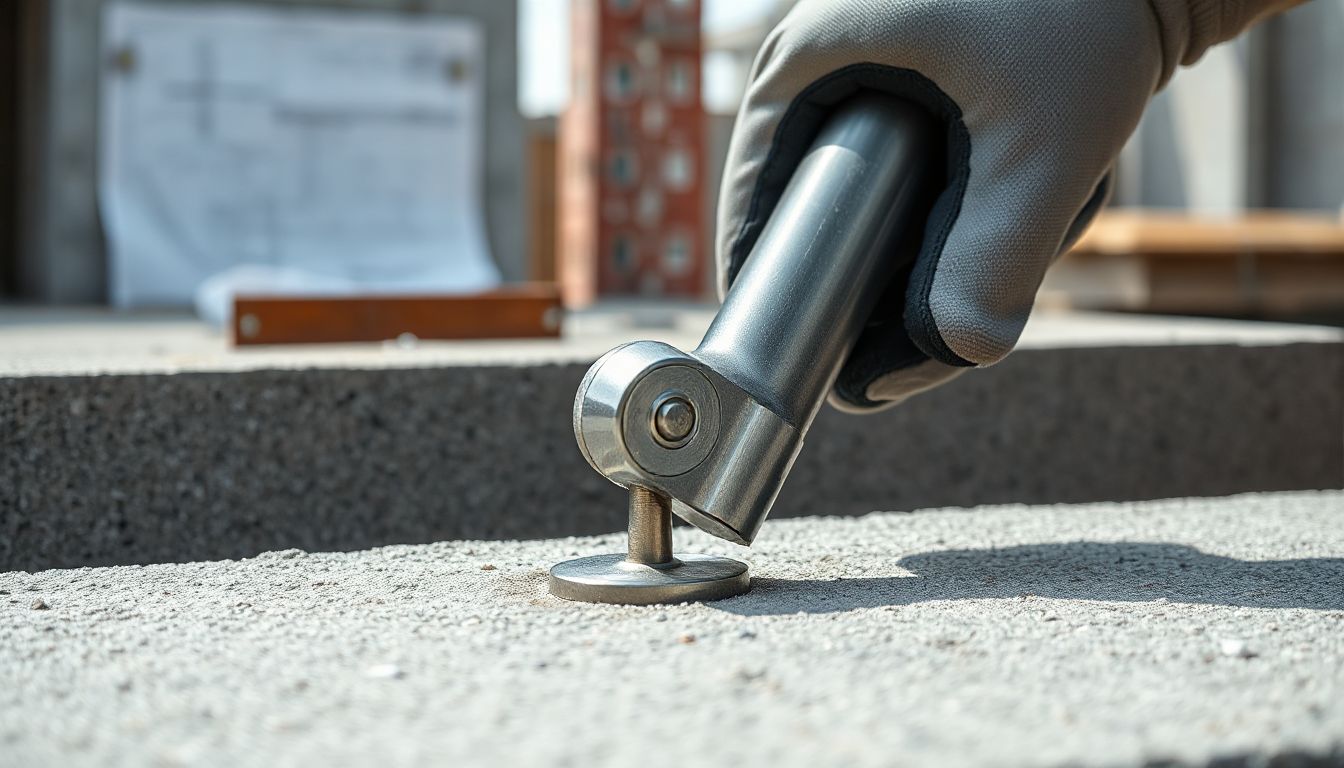
The rebound hammer test is a simple, portable method to measure surface hardness of concrete without damaging it. The device hits the surface with a spring-loaded mass and measures how far it bounces back. The bounce reflects surface hardness — the harder the surface, the higher the rebound value. These numbers help estimate the concrete’s internal strength without core samples or lab tests.
Its main advantage? Speed. You can perform many tests on-site in minutes. Plus, it avoids the costs and delays linked to drilling cores. The trade-off? It’s only an indirect estimate, meaning surface conditions influence the results.
Overview of IS 13311 Part 2
The Indian Standard IS 13311 Part 2 provides guidelines for the rebound hammer test. It covers equipment specifications, calibration procedures, and testing protocols. Its goal is to ensure everyone follows a uniform method for reliable results. The standard specifies how to prepare the test surface, how many readings to take, and how to record data.
Compliance with IS 13311 Part 2 ensures tests are valid and comparable across projects. It’s especially important in large-scale constructions, where quality reports must be precise and trustworthy. Using this standard also helps meet regulatory and contractual requirements for concrete testing.
Relevance of IS 13311 Part 2 in Construction Projects
When dealing with big projects, consistent test results are key. If different teams perform tests differently, it becomes hard to compare data. The IS 13311 Part 2 standard creates a common language. It helps verify quality, avoid disputes, and make informed decisions about construction safety and durability.
Moreover, the standard supports your QC process by integrating rebound hammer testing with other methods like ultrasonic testing or core sampling. When used together, they give a fuller picture of concrete health.
Equipment and Calibration for Accurate Rebound Hammer Testing
Selecting the Right Rebound Hammer Device
Choosing a good rebound hammer depends on your project needs. There are two main types: rebound hammers and Schmidt hammers. Both are portable; however, rebound hammers are generally cost-effective and easy to operate. Features to consider include:
- Durability and weather resistance
- Ease of calibration
- Digital or analog display options
- Compatibility with IS 13311 Part 2 specifications
Always go for devices approved by relevant standards. Proper maintenance — like protecting from extreme weather and keeping the tip clean — ensures your device remains accurate over time.
Calibration Procedures
Regular calibration is essential for trustworthy readings. Follow these steps, as per IS standards:
- Use a calibration block made of concrete with a known strength.
- Place the device on the block’s surface.
- Fire a test strike and compare the rebound number with the standard value.
- Adjust the device as necessary.
- Record the calibration date and results in your log.
Troubleshooting common issues? Sometimes, surface irregularities or wear on the device tip can cause errors. Always ensure proper surface contact and replace worn parts promptly.
Preparing the Testing Environment
External factors can change test results. Keep these points in mind:
- Clean the concrete surface thoroughly — remove dirt, grease, or loose particles.
- Roughen or sand the surface for improved contact.
- Conduct tests at room temperature; avoid extreme cold or heat.
- Ensure good lighting and safe working conditions.
- Document environmental conditions during testing for future reference.
Conducting the Rebound Hammer Test: Step-by-Step Process
Surface Preparation
A clean, rough surface ensures consistent measurements. Use a wire brush or sandpaper to remove surface laitance or dust. If the surface is too rough or uneven, results may be skewed. The goal is to have a smooth yet adequately prepared surface for reliable testing.
Test Procedure
- Position the rebound hammer perpendicular to the surface at the specified point.
- Apply steady, light pressure until the test hammer is ready.
- Press the trigger to fire the device, recording the rebound number.
- Take at least five readings at different spots on the same surface to get accurate data.
- Record each rebound value and note any surface anomalies.
- Calculate the average rebound number for analysis.
Interpreting Results
Rebound numbers range from about 20 to 100, depending on the device. Higher rebounds indicate harder surfaces. However, surface conditions can influence readings. Always consider the context — a very smooth, polished surface might give different results than rough concrete.
Average the readings, discard outliers if necessary, and analyze trends. Beware of inconsistent readings, which could indicate surface issues or equipment malfunction.
Data Analysis, Correlation, and Reporting
Converting Rebound Numbers to Concrete Strength
Turning rebound values into actual concrete strength involves calibration curves based on historic data. Typically, engineers compare rebound numbers to core testing results to create a correlation. Keep in mind that surface conditions, age, and mix types affect this relationship. Always reference local calibration charts or conduct field correlation tests.
Validating Test Results
When possible, compare rebound hammer results with core sample tests. If results differ significantly, re-test or investigate possible causes. Remember, initial readings might not be fully accurate if surface preparation was inadequate or environmental conditions were poor.
Reporting and Documentation
A clear report will include all relevant details:
- Calibration data and device type
- Test location and environmental info
- Surface conditions
- Number of readings and average value
- Operator name and date
- Any anomalies or observations
This documentation ensures traceability and helps verify your results aligns with project standards and contractual commitments.
Practical Applications and Limitations
Case Studies and Real-World Examples
In high-rise buildings, rebound hammer tests helped detect areas with weak surface zones during construction. Early detection prevented future problems. For bridge decks, repeated testing confirmed uniformity of concrete strength. When used correctly, it’s an invaluable QC tool.
Limitations of the Rebound Hammer Test
Know its limits: surface condition heavily influences results. A rough or porous surface can understate true strength, while smooth finishes may give false high readings. It cannot probe internal flaws. For safety-critical structures, combine it with other testing methods like ultrasonic pulse velocity or core sampling.
Best Practices for Reliable Results
- Always calibrate the device regularly.
- Train operators thoroughly on proper technique.
- Use the same surface preparation method consistently.
- Perform multiple tests and analyze the data statistically.
- Combine rebound data with other inspection techniques.
Conclusion
The rebound hammer test is a straightforward, cost-effective way to assess concrete strength on-site. Following IS 13311 Part 2 guidelines ensures your results are accurate and consistent. Proper calibration, careful testing procedures, and good data interpretation are the keys to reliable results.
When used correctly, this non-destructive test becomes a vital part of your quality assurance plan. It helps catch problems early, saving time and money. Think of it as a quick check-up — not the whole diagnosis — but enough to keep your project on the right track.
Remember: Proper preparation, regular calibration, and understanding the test’s limits protect your project from surprises. Use rebound hammer testing wisely, and it will serve as a dependable tool for your concrete quality control efforts.