Introduction
When it comes to building structures, knowing the quality of concrete is vital. Cracks, voids, or damage can weaken a structure and cause costly repairs. So, how do engineers check concrete without damaging it? That’s where Ultrasonic Pulse Velocity (UPV) testing comes into play. This method is fast, accurate, and non-destructive.
Standards like IS 13311 Part 1 ensure UPV testing is done correctly. This article explores how UPV works, what equipment is used, and how to interpret results. Whether you’re an engineer, contractor, or student, understanding UPV will help you make smarter decisions in construction.
What is Ultrasonic Pulse Velocity Testing?
Definition and Principles of UPV Test
UPV testing uses high-frequency sound waves that travel through concrete. Think of it like ultrasound scans used in hospitals. The basic idea? The faster sound waves move through material, the better its quality. Conversely, slower waves often mean cracks, voids, or other flaws.
Importance in Concrete Quality Assessment
Why do we need UPV? It quickly reveals hidden issues inside concrete. For example, if there’s a crack or void, the sound wave slows down. This tells us about potential problems before they get worse. The biggest bonus? It’s non-destructive—meaning no drilling or cutting needed. Also, UPV saves time and money, making it perfect for quality control.
Standards and Guidelines
IS 13311 Part 1 gives clear rules on how to perform UPV tests accurately. Globally, similar standards exist, like ASTM C597. While local codes may differ slightly, following IS 13311 ensures reliable results in India. It covers everything from equipment calibration to data interpretation, giving you a solid framework.
Equipment and Materials Used in UPV Testing
Ultrasonic Pulse Velocity Test Apparatus
The main tools include transducers, which send and receive sound waves. Modern setups may have phase arrays for detailed scans. Calibration devices are used to make sure readings stay accurate. Selecting the right equipment depends on your project size and concrete type.
Couplant and Surface Preparation
Using a couplant, like gel or water, helps sound waves pass smoothly between transducers and concrete. Carefully cleaning and smoothing the surface is equally important. Rough or dirty surfaces can distort the results.
Calibration and Maintenance
Regular calibration per IS 13311 Part 1 keeps equipment precise. Also, routine checks prevent errors, ensuring trust in your data. Well-maintained tools last longer and give more consistent readings.
Procedure for Conducting the UPV Test as per IS 13311 Part 1
Preparation Before Testing
Start by cleaning and drying the test surface. Make sure the concrete is accessible at feasible points. Good surface contact ensures more accurate readings.
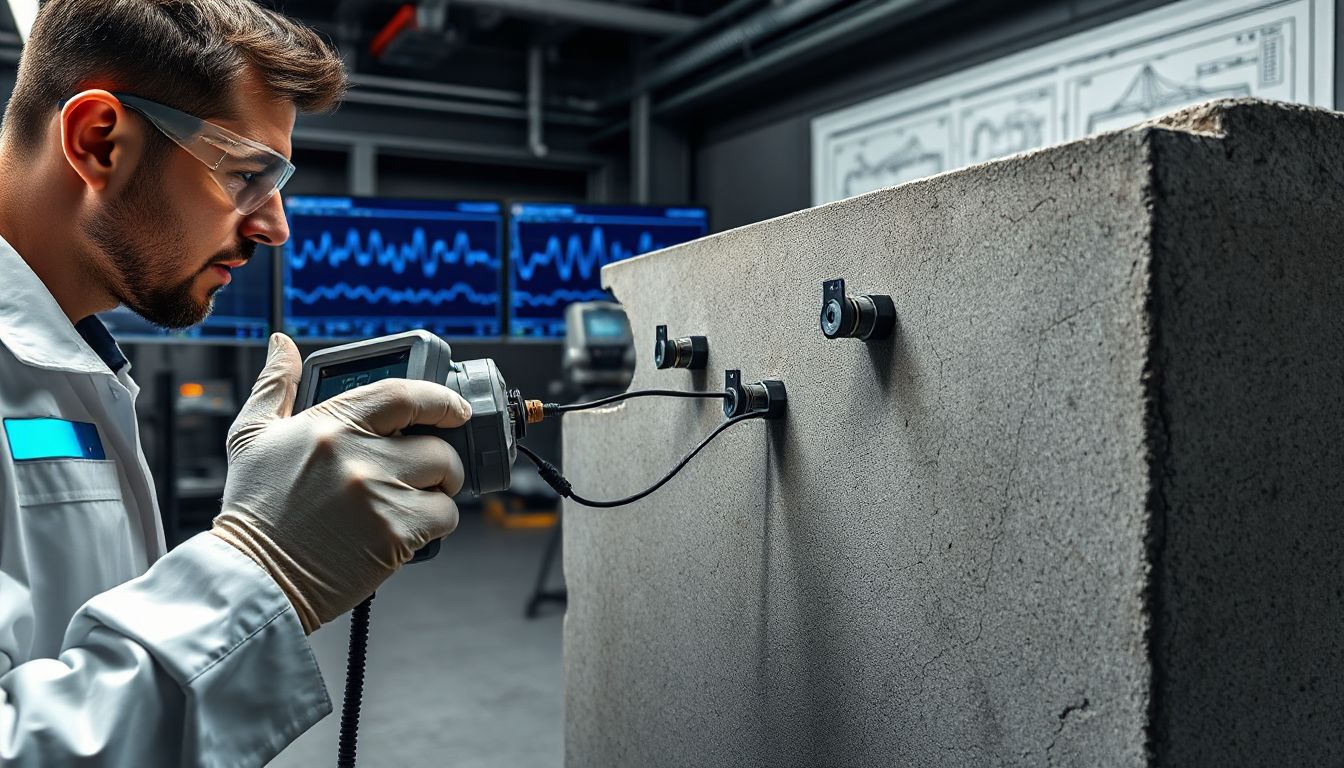
Placement of Transducers
For direct tests, transducers are placed on opposite sides of the specimen. Indirect tests involve placing them on the same surface, often at different points. Spacing depends on the depth you want to measure. Proper placement avoids weak spots or edge effects.
Conducting the Test
Press the transducers firmly against the surface. Send a brief pulse and record the time it takes to travel through the concrete. Repeat several times at different spots. This helps verify consistency.
Recording and Calculating Results
Note down the pulse transit time. Divide the distance between transducers by this time to find velocity in meters per second (m/sec). Sound concrete generally shows velocities above 4,000 m/sec. Lower speeds may suggest cracks or damage.
Interpretation of UPV Results
Analyzing Pulse Velocity Data
High velocities indicate good, intact concrete. If velocities drop, it might mean cracks, voids, or inhomogeneities. For instance, sound concrete often measures around 4,000-4,500 m/sec.
Identifying Defects and Inhomogeneities
Look out for anomalies like sudden drops in velocity along the test path. These could mean cracked zones or air pockets. Interpreting these results helps decide if further testing or repairs are needed.
Limitations of UPV Testing
Factors like moisture content, surface roughness, or heterogeneity can affect accuracy. UPV struggles with heavily textured surfaces or big, reinforced sections. Sometimes, combining UPV with other tests offers a complete picture.
Case Studies and Real-World Examples
In one project, UPV detected cracks inside a bridge pier before visible signs appeared. Engineers used this info to repair early, saving thousands. Another example involved verifying the quality of precast panels in a factory.
Advantages and Limitations of Ultrasonic Pulse Velocity Testing
Benefits
- It doesn’t damage structures, so repeated testing is easy.
- Results are quick, perfect for on-site assessments.
- It’s more cost-effective than drilling cores or other invasive methods.
Challenges and Constraints
- Surface conditions can disrupt measurements.
- It has limited depth reach in large, thick concrete.
- Expert knowledge is needed for correct interpretation.
- Not suitable for rough or uneven surfaces.
Best Practices and Expert Tips for Accurate UPV Testing
- Always prepare a clean, smooth surface before testing.
- Calibrate your equipment regularly.
- Take multiple readings to confirm results.
- Use other non-destructive tests, like rebound hammer or survey methods, for a full assessment.
- Record all data meticulously following IS 13311 Part 1 standards.
- Invest in proper training for technicians to avoid errors.
Conclusion
Ultrasonic Pulse Velocity testing plays a crucial role in verifying concrete quality without harming the structure. When performed according to IS 13311 Part 1 standards, it provides reliable, quick insights into potential problems. Combining UPV with other tests creates a comprehensive understanding of a structure’s health. To boost durability and safety, include UPV in your quality checks. Accurate evaluation now prevents costly repairs later, making UPV an essential tool in construction.